Experienced backyard birdwatchers know that the most priceless hack to keeping hummingbirds coming back in droves is- maintaining a clean feeder with fresh nectar. Hummingbirds tend to be choosy when it comes to feeding. Therefore, if you don’t encourage a clean and hygienic feeding station, you will lose them. In this article we’re taking a look at how to clean a hummingbird feeder: the do’s, and the don’ts.
If you are a birder, the question of how to clean a hummingbird feeder may have crossed your mind at least once. This question should be a common concern for anyone that wants to enjoy regular visits from satisfied and healthy hummingbirds.
This guide will provide you with everything you need to know on how to clean a hummingbird feeder.
If you’re an amateur birdie or making your first attempt at cleaning a hummingbird feeder, you will also find a step-to-step guide on how to go about the entire cleaning process.
Let’s start with an overview of the importance of cleaning a hummingbird feeder.
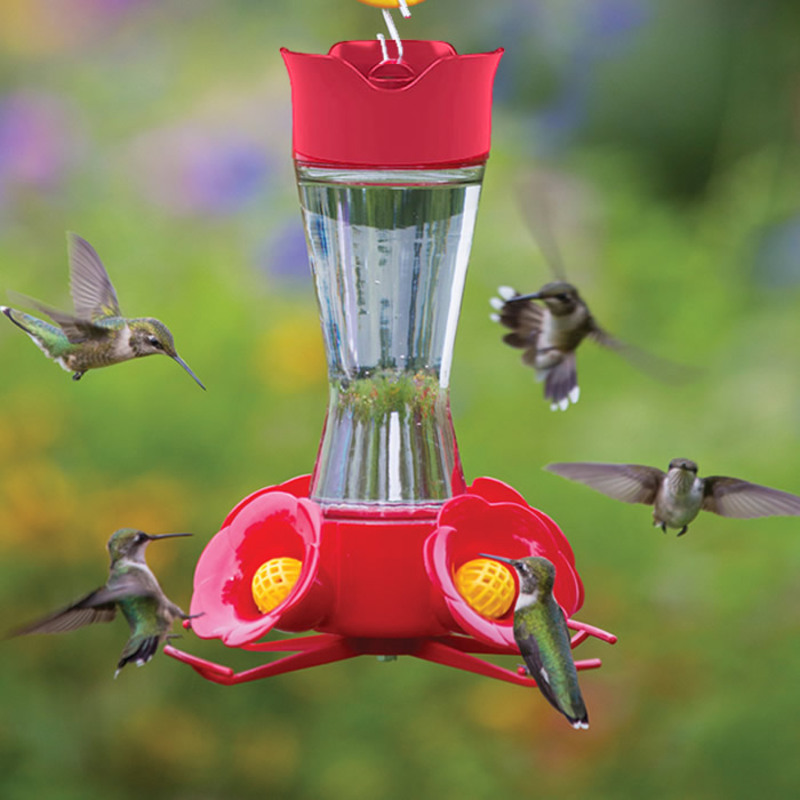
Importance of Cleaning a Hummingbird Feeder
One of the reasons why cleaning a hummingbird feeder is absolutely necessary is nectar is likely to grow mold if a feeder doesn’t get properly cleaned. And, hummingbirds being tiny, fragile creatures with small organs, even a minimum amount of contamination in what they ingest can lead to sickness or death.
That is what most birders are unaware of. Most hummingbirds are usually found dead with their tongues hanging out. Their deaths are mostly a result of them consuming fermented nectar. Black mold that develops on fermented nectar is one of the reasons hummingbirds get fungal infections. As a result of these infections, the tongues of hummingbirds can swell to such a point that feeding becomes impossible, and they die of starvation.
If you don’t want your love for these birds to be their death, you cannot overlook cleaning their feeders at least every two or three days. Otherwise, your kindness may be their death.
Also, as we mentioned before, hummingbirds prefer feeding on fresh nectar. They will avoid a feeder if they notice the nectar is spoilt. So, if you want your lovely little guests to keep coming, ensure they’ll find a clean feeder.
A dirty feeder can also be quite an eyesore and smelly. You don’t want to keep a smelly feeder on your porch because it will be a turnoff for your visiting hummers and yourself. Plus, it’s likely to attract unwanted insects such as flies and ants.
How Often Do You Need To Clean Your Hummingbird Feeder?
The frequency of cleaning needed for your hummingbird feeder is dependent on the temperature outside. But, in general, your feeder shouldn’t go more than six days without cleaning.
Your hummingbird feeder will need to be cleaned more often in high temperatures. Hotter temperatures encourage the growth of dangerous bacteria in the nectar. Bacteria and other microorganisms themselves are considerable causes for concern. The fermentation they cause is deadly for hummingbirds.
Overall, you can clean your feeder:
- once every six days in temperatures below 75ºF
- once every five days in 76-80ºF
- once every four days in 81-84ºF
- once every three days in 85-88ºF
- once every two days in 89-92ºF
- every day in temperatures exceeding 92ºF
You should also consider the number of birds that feed on your feeder. The bigger the flock your hummingbird feeder attracts, the more you’ll need to clean it. And, since more hummers flocking to your feeder means they’ll exhaust the nectar pretty fast, you can take the opportunity between refills to clean the feeders.
Always clean your hummingbird feeders between refills. Always ensure you get rid of the old nectar, clean the feeder, and then put in fresh nectar.
Signs You Need To Clean Your Hummingbird Feeder or Replace Nectar
You should consider cleaning your hummingbird feeder or changing the nectar if you see any of the following signs:
- a strong odor that is either too sour or too sweet
- stringy, cloudy particles floating on the nectar
- residue crystallizing or sticking on the ports.
- growth of mold in the reservoir or on the ports
How to Clean a Hummingbird Feeder
We have now come to the most vital part of our article- how to clean a hummingbird feeder.
We conducted extensive research on this topic and encountered a diverse array of conflicting information. The conflicting information arises from the question of what to use in cleaning feeders. Some birdies insist soap is just fine, while others denounce the use of soap and proclaim that the cleaning of feeders should only incorporate vinegar.
We believe the choice of whether to use soap or vinegar is entirely up to you. The most important thing is to go with a cleaning agent that won’t inconvenience you in any way. A convenient cleaning agent will ensure the task is simple and that you carry it out as often as you need to.
However, soap is usually quite effective in cleaning hummingbird feeders. But, if mold and fungi start causing problems, you can give your feeder a thorough, deeper cleaning by soaking in either bleach or vinegar.
We have discussed how to clean a hummingbird feeder using either soap, bleach, or vinegar below. All you need is a cleaning agent, a sink or bucket, and a cleaning tool like a bottlebrush or soft cloth.
STEP 1: Empty your hummingbird feeder
As we mentioned earlier, topping up old nectar with a new batch isn’t a good idea. You have to dispose of the unconsumed nectar first because the old nectar may be harmful.
If disposal happens to be wasteful, just fill the feeders with enough nectar next time to avoid excessive wastage.
You can empty the feeder in a sink and use running water to ensure you’ve gotten rid of any residuals.
Extra tip: If your nectar source is the general store, always try to purchase colorless nectar. Hummingbirds are usually attracted to the red color of a feeder, not colored nectar.
However, if you choose to offer your hummers homemade nectar, use either cane or beet sugar.
STEP 2: Disassemble the Feeder
Most feeders get manufactured in such a way that they are easy to disassemble. If you can disassemble your feeder, it would make cleaning much easier and more effective.
If you are unsure about the procedure required to take apart your hummingbird feeder, consult the guidelines to avoid ruining it. Most feeders come with them and, if yours didn’t, simply type your feeder’s name followed by “disassemble” on a search engine, and you are likely to find the necessary instructions.
STEP 3: Choose your cleaner
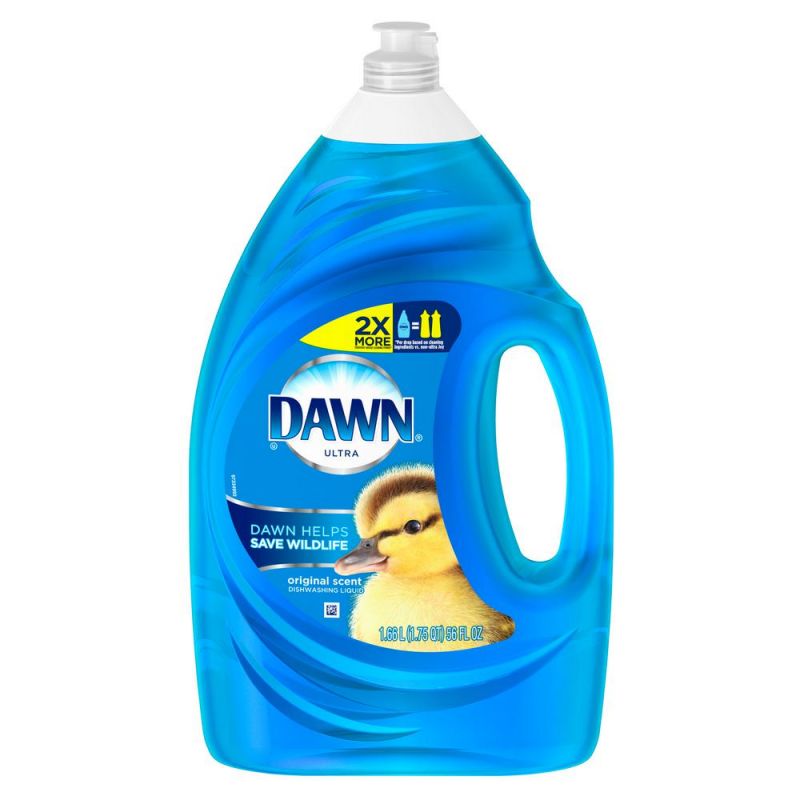
We mentioned before that you may use either unscented dish soap, vinegar, or bleach. Dish soap is the easiest to find and use cleaner.
If you opt for vinegar, prepare a solution that includes two parts water and one part vinegar. It is a very effective and harmless solution.
If you want to use bleach, prepare a solution with nine parts water and one part bleach. Bleach is effective for sterilizing your hummingbird feeders. Simply soak your feeders in bleach and wait to not less than 5 minutes. Bleach is the best solution for black mold.
However, note that bleach and soap can harm hummers if your feeder doesn’t get thoroughly rinsed. Ensure you have rinsed the feeder and it doesn’t have any traces of the cleaning solution.
STEP 3: Soak the disassembled parts
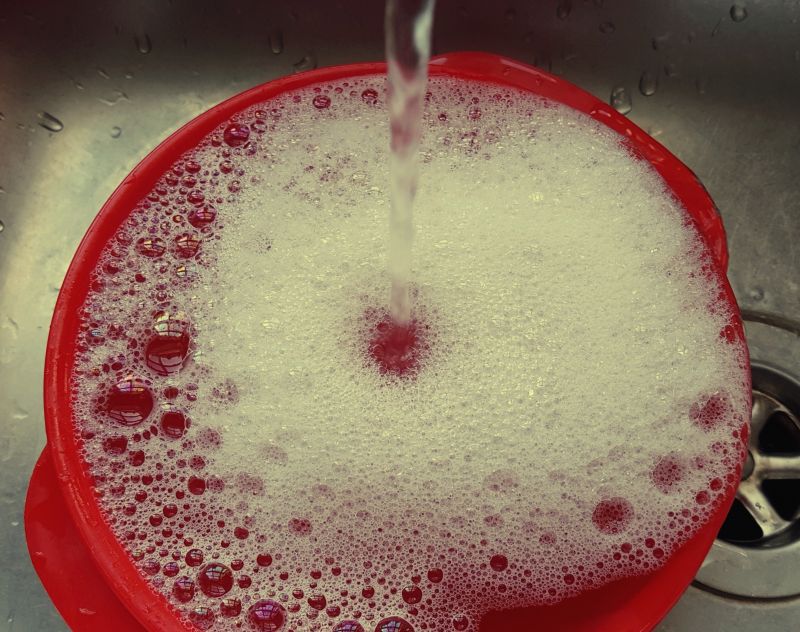
Once you’ve taken the feeder apart, fill up a sink or bucket with hot water and either dish soap, bleach, or vinegar. Then, place all the parts in the solution and leave them to soak for a minimum of 10 minutes. Soaking is the best way to get rid of any microorganisms and make crystallized sugar lose enough for easier cleaning.
STEP 4: Scrub the feeder parts
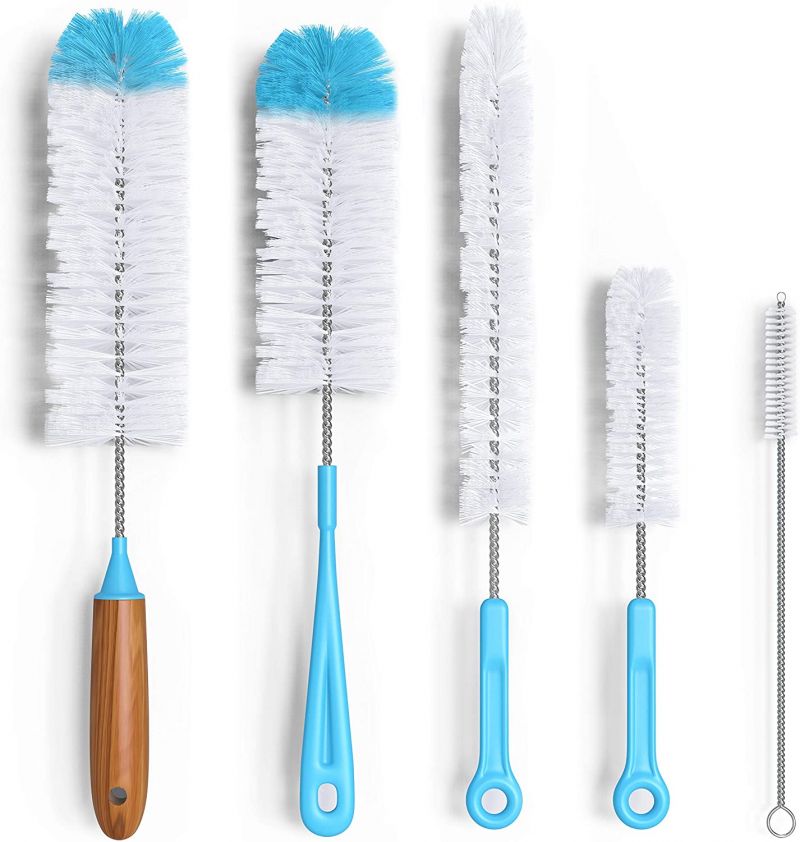
This is the most crucial part. You have to ensure you have cleaned all feeder parts thoroughly. The handiest cleaning tool you can use to clean efficiently and effectively is a bottle brush: but an old toothbrush can do the job nicely just as well.
Using a brush, scrub the feeder parts thoroughly to ensure you’ve removed old nectar, crystallized residues, and any growing mold.
If you don’t have a good cleaning tool or if your hummingbird feeder is difficult to access due to a small neck, you can add a small amount of rice in dish soap, fill the feeder with water, and shake. Since rice is abrasive, it’s quite effective in cleaning the hard-to-reach parts in a hummingbird feeder.
Don’t forget to scrub the feeder’s ports, bee guards, and caps.
If you don’t want to scrub your hummingbird feeder, you can boil it in a container of water. Boiling is an effective way of getting rid of crystallized sugar residue. But, only boil your feeder in a solution if you’re sure it won’t deform.
STEP 5: Rinse the parts
Empty your cleaning solution after you’ve thoroughly scrubbed the feeder parts. Then rinse carefully with cold water to ensure you’ve gotten rid of dirt, suds, and traces of the cleaning solution. Your feeder hummingbird feeder won’t be of any good if the nectar has a soapy taste.
If you used bleach as your cleaning solution, it is advisable you rinse with hot, running water until the rinsing water runs clear. You may also boil the feeder in hot water after you’ve rinsed it to ensure residual bleach gets removed entirely.
STEP 6: Dry the parts
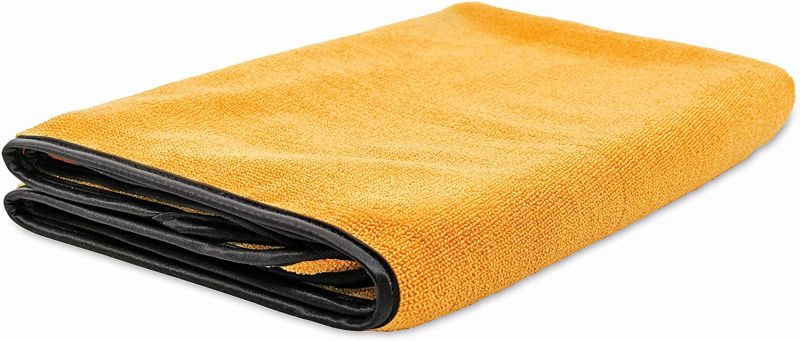
Once rinsing is complete, you can now air dry the feeder parts by placing them on a dry towel or in a dish rack.
STEP 7: Reassemble, add fresh nectar and hang the feeder
You can reassemble your hummingbird feeder once it’s completely dry. Then, add some fresh nectar, and rehang properly.
How to Treat Mold in a Hummingbird Feeder
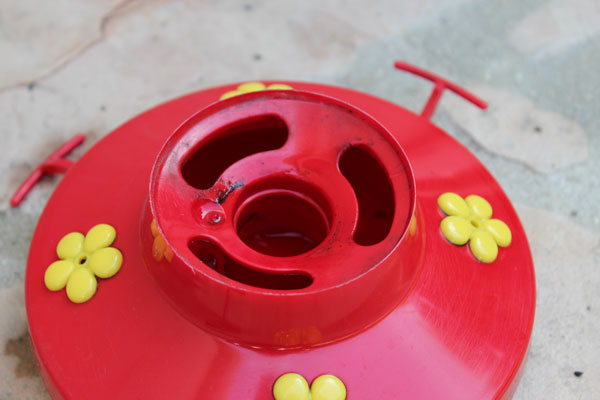
Treating mold in a feeder requires the use of bleach, vinegar, or peroxide. Experienced birdies don’t recommend dish soap in removing black mold.
Below is a guide for treating mold in a hummingbird feeder:
Step 1: Dilute Bleach
If you want to use bleach, dilute it first. Undiluted bleach can be extremely dangerous. Safe use of bleach also requires you to wear protective gloves and ensure you’re in a well-ventilated setting.
Bleach is the most effective in getting rid of black mold in feeders since it requires a shorter period to take effect. Peroxide and vinegar, on the other hand, are weaker and therefore need more time.
You can dilute bleach by mixing a gallon of water with a ¼ cup of bleach. This is easier to do if you’re using a large bucket rather than a sink.
Step 2: Soak hummingbird feeder in the bleach solution
Then, soak your feeder in the diluted bleach solution for 1 hour. Soaking is the most effective way of removing spores and mold that is potentially harmful to hummingbirds. If you have disassembled your hummingbird feeder for cleaning, soak all the parts and give them 1 hour to sit in the diluted bleach solution.
Step 3: Clean feeder with a bottle brush
Then, remove the parts you soaked in the solution and proceed to clean. Remember to keep your gloves on. Use a bottle brush to scrub off all traces of black mold.
Step 4: Rinse, Dry, Refill
Once you’re sure you’ve removed all traces of black mold, proceed to rinse. You should rinse thoroughly to ensure the feeder hasn’t retained any traces of the cleaning solution. Bleach is a toxic chemical that will cause adverse effects to hummers if they happen to ingest it.
After rinsing, proceed to air drying your feeder. Once it’s completely dried out, you can now refill with fresh nectar and wait for hummers to visit it.

BEWARE!
Never mix vinegar and bleach when cleaning your hummingbird feeders. This mixture is deadly since it creates chlorine gas which can be lethal.
Can You Use a Dishwasher to Clean a Hummingbird Feeder?
You can use a dishwasher to quickly and easily clean your hummingbird feeder. However, only use a dishwasher to do general cleaning in feeders. Don’t use a dishwasher to get rid of black mold.
You should also check with your hummingbird feeder manufacturer to ensure it supports dishwasher cleaning.
Tips for Keeping Nectar in Your Hummingbird Feeder Fresher for Longer
On top of cleaning your hummingbird feeder, you can also take a few measures to ensure the nectar stays clean and fresh for an extended period. These measures include:
• Hang your hummingbird feeder in the shade
As we mentioned earlier, nectar tends to ferment and spoil faster in higher temperatures. To avoid this, keep your hummingbird feeder in a shaded area, especially during hot and sunny seasons.
• Use smaller feeders
Larger hummingbird feeders don’t necessarily guarantee you’ll get more visits. In fact, a larger feeder may be a prerequisite for wasting nectar since hummers are usually few in one area.
Try using smaller feeders to avoid wastage of nectar.
• Get a backup feeder
A backup feeder is very important for those days when you’ll lack time to clean your hummingbird feeder. A backup feeder will not only ensure you have fresh nectar put out in a clean feeder, but it will also help you avoid harming your hummers.
• Sterilize your feeder
We mentioned earlier that bacteria and other microorganisms are responsible for the fermentation of nectar. It only follows that a dirty feeder will lead to a faster fermentation of nectar. So, clean your hummingbird feeders as often as possible, and use vinegar or bleach every other time to ensure stubborn mold gets completely removed.
• Try using Nectar Defender
You can also opt to mix nectar with a tiny amount of nectar defender. Nectar defender is one of the products that are useful in extending the life of the nectar. Copper present in the nectar defender helps slow down bacteria, mold, and fungi formation.
However, you should note that most feeder owners that have used these products complained of hummers avoiding the feeders if they added too much nectar defender. Try this solution in small amounts, then gauge how your hummers respond.
• Get a feeder that is simple to disassemble and clean
You need a feeder that is easy enough to take apart for cleaning and reassemble afterward. For instance, dish feeders are among the easiest to clean hummingbird feeders.
Avoid feeders with small openings because they are impossible to clean. If you’re in doubt about taking apart your feeder, you can contact the manufacturer or seek more information on the internet.
• Try to keep out insects
Dead insects are one of the most common problems for hummer feeders. To keep your feeder free and especially from bees, ensure you clean any nectar that spills on the outside of your hummingbird feeder. Also, you can discourage bees by filling the feeder with a small amount of nectar. It will ensure bees can’t get to the nectar through the ports. That is especially so if your hummingbird feeder is shaped like a tray.
You can also move the feeder to a new location if you suspect a scout bee is aware of the feeder. Scout bees alert other bees immediately they find a food source. Bees and wasps are also attracted to the yellow color, so if it’s possible, avoid a feeder with yellow parts.
• Rotate your hummingbird feeders
If you have several feeders, keep them in constant rotation. It will give you time to thoroughly clean and maintain feeders while hummers enjoy nectar from a fresh and clean feeder.
What If You Can’t Keep up With All the Required Hummingbird Feeder Cleaning?
If your schedule doesn’t allow you to clean as frequently as possible, or if you aren’t even in a position to provide fresh nectar regularly, you can choose to attract hummingbirds using the types of flowers they love. Some of these flowers include salvia, catmint, bee balm, cardinal flower, and Agastache.
Best Spots to Hang a Clean Hummingbird Feeder
After you’ve cleaned your hummingbird feeder, all you have to do is find a good spot to hang it. A clean feeder won’t be any good if it doesn’t feed any hummers.
Plus, if you happen to place your feeder in a poorly set position, it may leak and attract unwanted insects and pests.
Below are a few tips for effectively placing a hummingbird feeder:
Noticeability
Hummers may have sharp eyesight, but they can just as easily fail to notice a feeder situated in dense foliage. Your feeder should be in a spot where it catches the light and reflects the attractive colors more easily.
As we also mentioned before, it’s the red color on hummingbird feeders that attracts them. Ensure your feeder is in a spot where there is very little red-colored competition for your hummingbird feeder.
Convenience
We also mentioned the importance of feeders that are easy to disassemble and clean. If you want to clean your feeder regularly, it needs to be in a convenient place where you can easily reach it.
Safety
You need to ensure the safety of your hummers by making sure feeders are rehanged properly after cleaning. Also, hang your feeders on a height that predators such as cats won’t be able to attack feeding birds.
Privacy
Hummingbirds tend to be territorial birds with a disposition for aggression. They will refuse to come close to your feeder if any other birds happen to be around it.
If you want to feed more birds, have feeders positioned in different areas so that hummers can imbibe in their own private station.
Shade
Shade is crucial to keeping the nectar fresh in hummingbird feeders. As we mentioned earlier, nectar goes bad faster in a hotter environment. Therefore, after cleaning your feeder, rehang it in a spot that receives lots of shade.
Conclusion
Cleaning your hummingbird feeder is a prerequisite if you want to enjoy constant visits from hummers. It is also mandatory in ensuring they are healthy and safe. Don’t let your hummers consume spoiled nectar because it will harm them.
Be honest with yourself. Hummingbird feeders need regular maintaining, cleaning, and nectar replacement. If you can’t handle all this, plant some flowers, and you’ll still be able to enjoy their visits. We hpe that we have given you an insight regarding how to clean a hummingbird feeder.
Related
- Bird feeders can commonly attract the attention of all kinds of undesired parties. Check out our article on how to keep chipmunks away from bird feeders.
- Have you ever wondered: why do hummingbirds chase each other? We have the answer in the linked article!
Leave a Reply